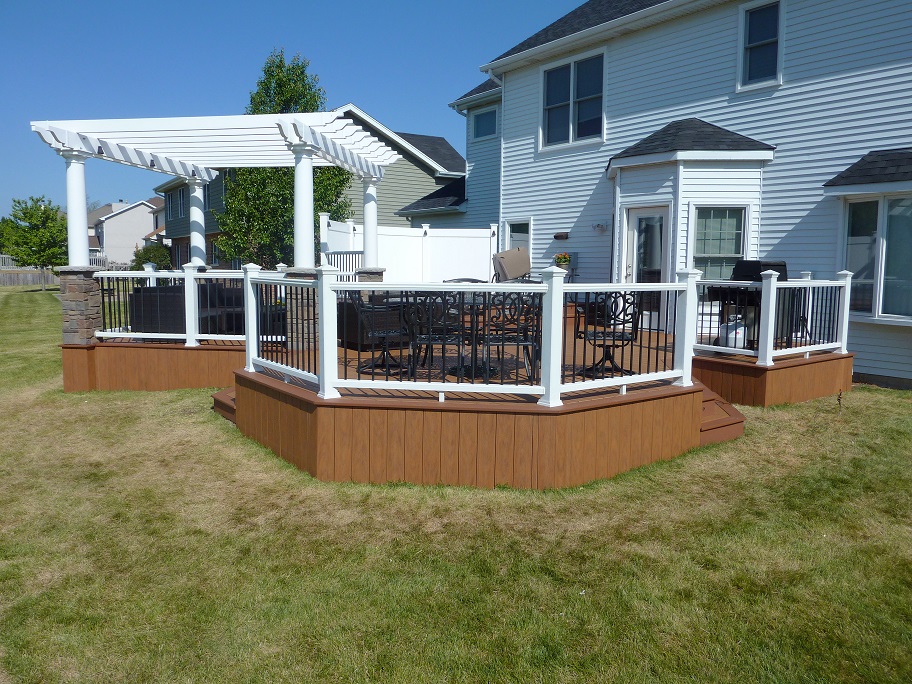
A deck without lighting installation is incomplete and lacks a finishing touch. While you may be able to take full advantage of your beautiful deck during daytime, the place will be quite futile during the dark hours of the night. So if you want to take full advantage of your deck, it’s good to install some lighting in it. Once you have a well-lit deck, you can use it during the night for parties after sunset; especially cookouts and weekend night parties.
Here is how you can successfully carryout deck lighting installation and make your deck beautiful during the night too:
1. Design a lighting plan
A lighting plan is the first thing that you need to design that highlights that points where lighting will be installed. To illuminate your deck during the night, it is important to have lighting on places that light up all the important areas of the deck. This includes stairs and steps, sitting areas, cooking area (if there is any), etc.
Mark electric outlet points on the plan. Try to put more number of lighting points on one wire to have few wire connections and switches. Show the plan to a professional who can assist you with the wiring plan in order to get the best possible lighting for your deck.
2. Connect the wires
Join the wires to create a circuit. Measure the length of wires to see the amount of cable you will need so you can buy that length of wire as one single piece. Try to keep wires out of sight and away from the front of the deck. The cables should go from one end to other from under the deck out of public eye. If the cable has to be visible, make sure it is in the corner, stapled in the corner on the connecting edge of wall and floor.
3. Install lights in the stairs
Stairs need to be well lit to make sure you can see your way up and down the deck during the dark. Drill a hole inside the wall in the fixture and put the wires or cables through from the back. Attach waterproof wire connectors to the wire and place the wire back into the hole. Fasten the cover plate and place the shade on top.
4. Install post lights
Post lights illuminate the deck well and make it look more beautiful. Drill a hole deep down into the rail post; deep enough that it goes into the horizontal post. Drill a ½ inch hole from below the hole. Next, take the wires through the holes; you may as well use a duct tape to help you fasten this step. Use twist connectors connect the cable wires. Mount the fixtures and screw them together. Use 4 screws to secure the rail post from all 4 sides.
Illuminating a deck can make it more beautiful, and lift up its aesthetic beauty. Light up your deck and make it a happening place in your home after dusk. If you haven’t tried your hands at DIY deck lighting, then it’s wise to hire a professional since you don’t want to face possible hazards in case of incorrect wiring and connections. For more information about deck lighting Installation visit http://www.deckdaddy.com/.