Although you might think that your beautiful wooden floor will last forever, it probably won’t. Even though it is built to be sturdy and withstand the strains and stresses placed on it by regular heavy footfall, the years will inevitably take their toll on it. At some point, it will need to be repaired so that its looks are restored and it can continue to be used.
However, this is a job that is easier said than done – restoring a piece of furniture is one thing, but how do you restore a floor? Wouldn’t it be easier (albeit a lot more expensive) to completely replace it? It might be easier for some people, but not necessarily for the majority. It’s actually not difficult to restore a floor if you have the right tools for the job. This article will offer an overview of how to do the basics so you can repair and relay your floor on your own rather than having to pay a professional.
Removing scratches
The most common problem that afflicts aging floors is the accumulation of scratches, which can add character in certain cases but often makes it look scruffy. There are a number of ways of getting rid of scratches, or at least reducing their impact on anyone looking at them. The type of finish (or lack thereof) that protects the floor will also dictate the technique used to remove the scratch.
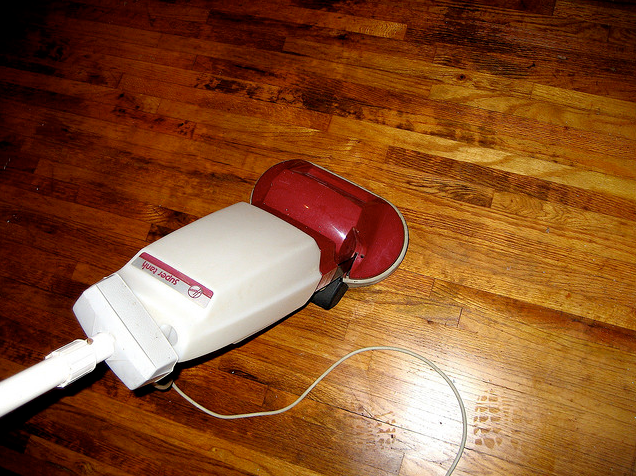
The most common method is to scuff and buff the scratch down so that it can’t be seen, generally by utilising an electric buffer. Going over the affected area will reduce the visibility of surface scratches on most finishes. As long as the floorboards haven’t been worn down to the wood then buffing is a pain-free way of sprucing them up.
You can remove scratches on an oiled floor by gently buffing the scratch with sandpaper after having cleaned the floor of dirt and grit, but you will need to reapply maintenance oil to the buffed area with a cloth so that it is protected again. As long as the flooring hasn’t been neglected, there should be no noticeable difference between the shades of the newly applied oil and the old oil.
On a lacquered floor, you can remove scratches by using a lacquer pen which contains lacquer matching the finish of your floor. It can be used to iron out minor scratches, but if the damage is more extensive then a complete sanding might be required.
Replacing boards

If a board is irreparably scratched or marked up in some way, it is often a good idea to just replace it rather than trying to buff out the worst of the damage. However, there are different types of floorboards and it’s not always as easy as sticking a crowbar underneath and prying them up.
The two most common types of floorboards are square-edged and tongue and groove – the former can be pried up fairly simply but the tongue of the latter has to be cut through using a circular saw because it locks into the board next to it. Replacing a square-edged board is also simple as long as the board is the right size and the proper number of nails are used to fix it in place. As far as a tongue and groove board is concerned, you can replace it with another tongue and groove board if you cut out the tongue left in the adjoining board, or a square-edged board if you decide not to.
Treating woodworm
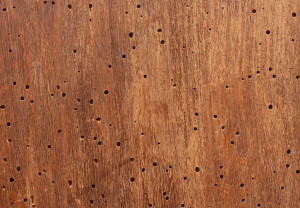
Woodworm infestations can cripple a floor, so it needs to be dealt with as soon as it is discovered. Their holes can grow up to 2mm in diameter and are recent if there is visible dust around their edges. If the infestation isn’t massive then you can easily handle it yourself by brushing both sides of the affected wood with timber treatment. If the problem develops into dry rot, where the fibers of the wood break down and become soft, then a professional floor restorer will need to be called.
Sanding
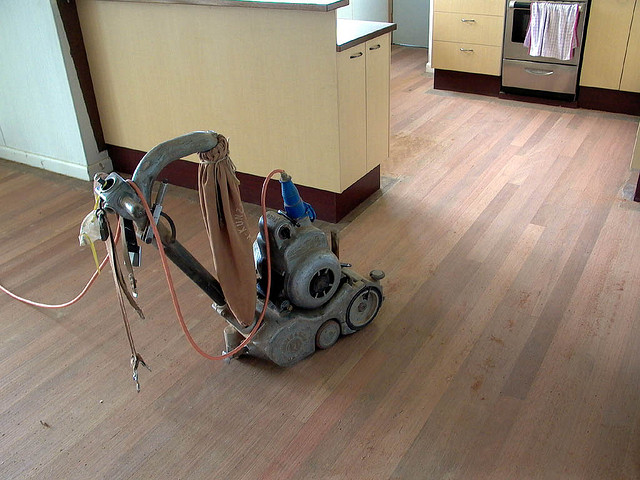
Sometimes it is necessary to sand the whole floor when certain areas are more damaged than others, or if the general damage is too extensive to sort out. This is one of the bigger jobs in the DIY job sphere, and requires a heavy-duty belt sander to properly complete.
Clear the room of furniture so that the floor is completely uncovered, and then get started. Test the sander on an unobtrusive spot to ensure that it works properly and then go over the entire surface, ensuring that you pay particular attention to the deepest and most obvious scratches. Whether you sand diagonally or lengthways across the room (or both) will depend on the grain of the wood and the level of the floorboards. You may also need to invest in a smaller sander to reach difficult areas.
The dust from the sanding will need to be cleared up after the job has been completed, but you may be able to buy a sander that comes with a bag that automatically collects the dust, much like that of a vacuum cleaner. You will then have to refinish the floor in a new lacquer or gloss.
Author: Yasmine Bachir, RocketMill